
The world of mobile technology is changing fast. eSIM is a new way to connect your phone without a physical card. It’s digital and built into your device. To switch from a physical SIM to eSIM, you need a compatible phone and carrier support.
eSIMs offer more flexibility than regular SIM cards. You can switch plans or carriers without swapping cards. This is great for travelers or people who use multiple phone numbers. eSIMs also save space inside phones, allowing for slimmer designs.
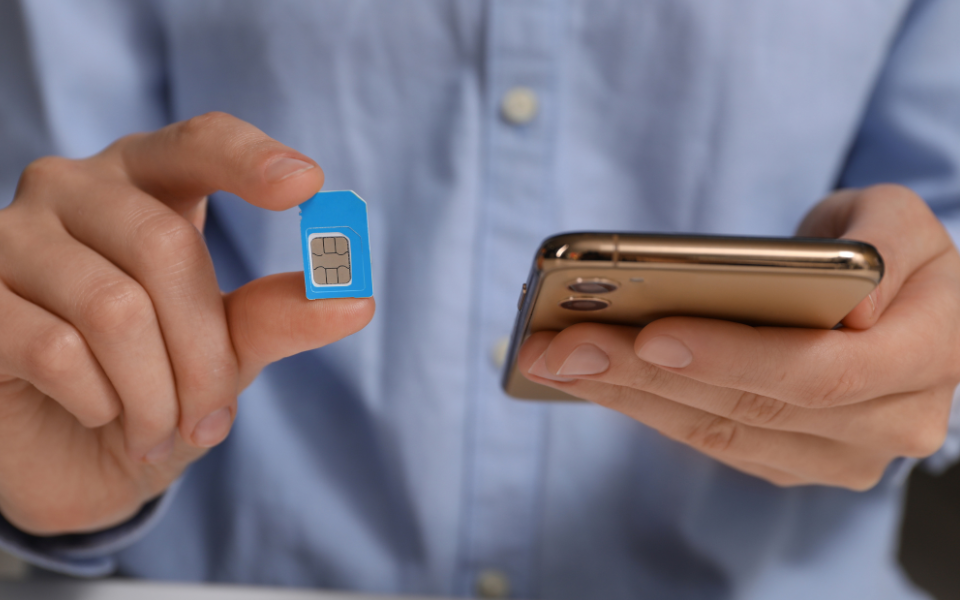
Many new phones now support eSIM technology. If you’re thinking about making the switch, it’s worth checking if your device is compatible. The process is usually simple and can be done through your phone’s settings or with help from your carrier.
Understanding eSIM and Its Advantages
eSIM technology brings new levels of convenience and flexibility to mobile connectivity. It offers benefits in security, device compatibility, and environmental impact compared to physical SIM cards.
What Is eSIM Technology?
eSIM stands for embedded SIM. It’s a small chip built into phones and other devices. Unlike physical SIM cards, eSIMs can’t be removed. They store your phone number and carrier info digitally.
eSIMs work with many mobile carriers. You can switch plans or add new ones without swapping cards. This makes it easy to use local data when traveling.
Many new smartphones and smartwatches now support eSIM. Some devices use only eSIM, while others have both eSIM and physical SIM slots.
Benefits of Switching to eSIM
eSIMs offer several key advantages:
- Convenience: No need to insert or remove SIM cards
- Flexibility: Easy to switch carriers or add plans
- Security: Can’t be lost or stolen like physical SIMs
- Space-saving: Frees up room in devices for other features
- Multi-number support: Use multiple phone numbers on one device
- Eco-friendly: Reduces plastic waste from SIM cards
eSIMs also enable remote SIM provisioning. This lets you activate service without visiting a store. It’s helpful for IoT devices in hard-to-reach places.
For travelers, eSIMs make it simple to use local data plans abroad. You can add a temporary plan without removing your home SIM.
Preparing for the eSIM Switch
Getting ready for an eSIM switch takes a few key steps. These include checking if your device can use eSIM, finding a carrier that offers it, and saving important info from your old SIM.
Determining Device Compatibility
Many new phones support eSIM. iPhones from XS and XR models onward can use it. For Android, Google Pixel 2 and newer work with eSIM. Samsung Galaxy S20 and later models also have eSIM features.
To check if your phone has eSIM:
- iPhone: Go to Settings > Cellular
- Android: Look in Settings > Connections > SIM Manager
If you see an option for eSIM or “Add eSIM,” your device is compatible.
Selecting a Compatible Carrier
Not all carriers offer eSIM yet. Big names like AT&T, T-Mobile, and Verizon do support it in many areas. Smaller carriers may have limited or no eSIM options.
To find out if your carrier supports eSIM:
- Check their website
- Call customer service
- Visit a local store
Ask about any fees for switching to eSIM. Some carriers might charge for the change.
Backing Up SIM Data
Before switching, save important info from your physical SIM. This includes:
- Contacts
- Text messages
- Call logs
Most phones can back up this data to the cloud or your Google/Apple account. For extra safety, you can also:
- Export contacts to a file
- Take screenshots of important texts
- Write down key phone numbers
After backing up, make sure you can access the data on your device without the SIM card inserted.
Executing the eSIM Activation Process
Switching to an eSIM involves a few key steps. Users need to get an activation plan, scan a QR code, set up the eSIM on their device, and configure cellular plans.
Acquiring an eSIM Activation Plan
To start using an eSIM, contact your mobile carrier. Ask them for an eSIM activation plan. Many carriers offer this service online or through their app. Some may require a phone call or store visit.
Make sure your device supports eSIM technology. Most newer smartphones do, but it’s best to check. Once you have a plan, the carrier will give you a QR code or activation details.
Keep your physical SIM in your phone until the eSIM is set up. This ensures you stay connected during the switch.
Scanning QR Code for Activation
Your carrier will provide a QR code to activate the eSIM. This code contains all the info needed to set up your service.
To scan the code:
- Go to your phone’s settings
- Find the “Cellular” or “Mobile Data” section
- Look for an option like “Add Cellular Plan” or “Add eSIM”
- Use your phone’s camera to scan the QR code
If you can’t scan the code, some carriers let you enter the info manually. They’ll give you the needed details if this is the case.
Activating eSIM on Your Device
After scanning the QR code, your phone will start the eSIM setup process. Follow the on-screen steps to complete activation.
You may need to:
- Confirm the plan details
- Enter a confirmation code sent by your carrier
- Agree to terms and conditions
Your phone will then download and install the eSIM profile. This process usually takes a few minutes. Don’t turn off your device or close the settings app during this time.
Once installed, your phone will ask if you want to use the eSIM as your primary line.
Setting Up Cellular Plans
With the eSIM activated, it’s time to set up your cellular plans. You can have multiple plans on one eSIM, which is great for travel or work.
To set up plans:
- Go back to the Cellular settings
- Select your new eSIM
- Choose which plan to use for data, calls, and texts
You can switch between plans easily in your settings. This is handy if you have separate work and personal numbers.
If you’re keeping your physical SIM, decide which SIM to use for what. You might use the eSIM for data and the physical SIM for calls.
Test your new setup by making a call and using mobile data. If anything isn’t working, contact your carrier for help.
Leveraging eSIM for Travel and Security
eSIM technology offers major advantages for international travelers and enhances mobile device security. It eliminates the need for physical SIM cards while providing flexible connectivity options and stronger protection against theft.
Benefits for International Travelers
eSIMs make international travel much easier. Travelers can switch to local carriers without swapping physical SIM cards. This allows them to avoid high roaming fees from their home carrier.
Many eSIM providers offer affordable data plans for multiple countries. Travelers can set these up before their trip starts. No more hunting for local SIM cards at the airport.
eSIMs also enable dual SIM functionality on compatible devices. Users can keep their home number active while using a local data plan. This provides flexibility to use the best option for calls, texts, and data.
For frequent travelers, eSIMs eliminate the hassle of managing multiple physical SIM cards for different countries. All plans can be stored digitally on one device.
Enhanced Security with eSIM
eSIMs provide better security than physical SIM cards in several ways. They can’t be physically removed from a device if it’s lost or stolen. This prevents unauthorized access to the mobile account.
The digital nature of eSIMs allows for stronger encryption. This makes it much harder for hackers to clone the SIM or intercept communications.
eSIMs reduce the risk of SIM swapping attacks. These attacks trick carriers into transferring a number to a new SIM. With eSIMs, there’s no physical card to swap.
Remote deactivation is easier with eSIMs. If a device is stolen, the owner can quickly disable the eSIM through their carrier’s app or website.
Frequently Asked Questions
Switching from a physical SIM to an eSIM involves different steps depending on your device and carrier. Here are answers to some common questions about the process.
How do I convert my physical SIM to an eSIM on an iPhone?
On an iPhone, go to Settings > Cellular. Tap “Convert to eSIM” and follow the prompts. Your carrier must support this feature for it to work.
Make sure your iPhone is connected to Wi-Fi during the conversion. The process takes a few minutes to complete.
What is the process for switching from a physical SIM to an eSIM on an Android device?
On Android, open Settings and tap “Connections” or “Network & Internet”. Select “SIM card manager” or “Mobile network”.
Choose the option to switch to eSIM. Your carrier will provide a QR code or activation details to complete the process.
Can I use both a physical SIM and an eSIM simultaneously on my phone?
Many newer phones support dual SIM with both a physical SIM and an eSIM active at once. This lets you use two different phone numbers or plans on one device.
Check your phone’s specs to see if it has this dual SIM capability. You may need to adjust settings to manage calls and data between the two lines.
What are the steps to activate an eSIM on my iPhone 14?
The iPhone 14 only uses eSIM in some countries. To activate, go to Settings > Cellular > Add Cellular Plan.
You can scan a QR code from your carrier or enter the details manually. Follow the on-screen steps to finish setup.
How can I change my physical SIM to an eSIM with Vodafone?
Contact Vodafone customer service to request an eSIM. They will send you a QR code by email or through their app.
Scan the QR code on your phone and follow the prompts to activate the eSIM. Your physical SIM will stop working once the switch is complete.
After converting to eSIM, is the physical SIM still functional?
Once you switch to eSIM, your physical SIM is deactivated. It will no longer work for calls, texts, or data.
Keep your old SIM in case you need to switch back. Some carriers may reactivate it if needed.